Making the Skirt
I made the skirt using the same glue-a-template and cut it out technique I used for the shoulders. Access to a CNC mill would be a little simpler but not much. To save material I cut the part from the top out from the base part. This was not a good plan as it meant that all of the support struts were unsupported during installation.
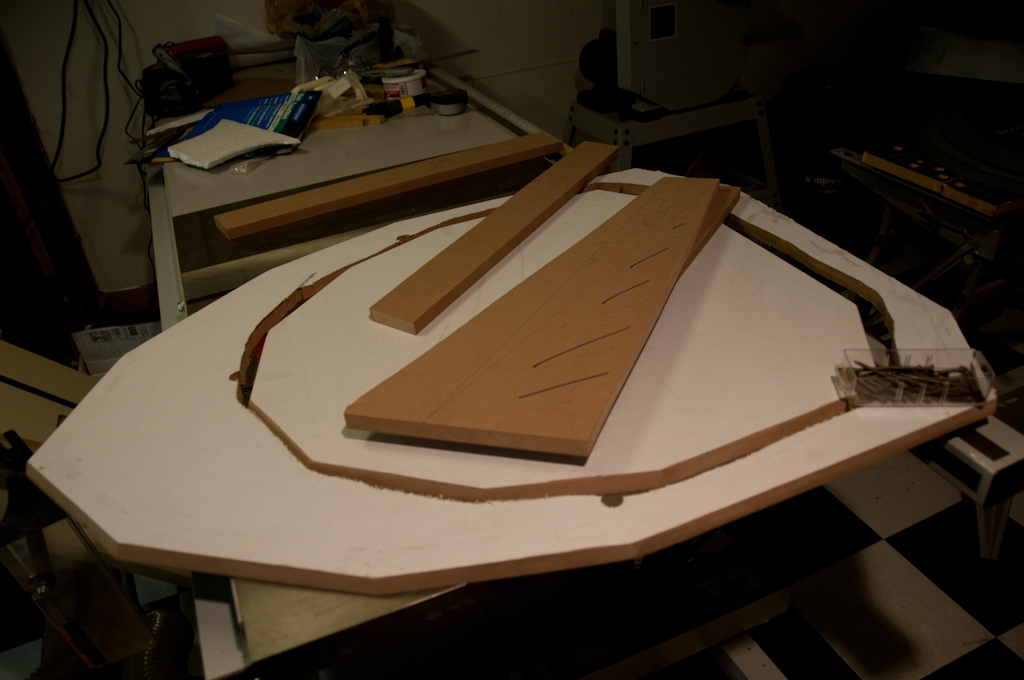
One thing that I regret not buying earlier was a good jigsaw. A large part of the problem working with the MDF was that the saw didn't make a clean or straight cut. The festool I bought later is much more pleasant to use.
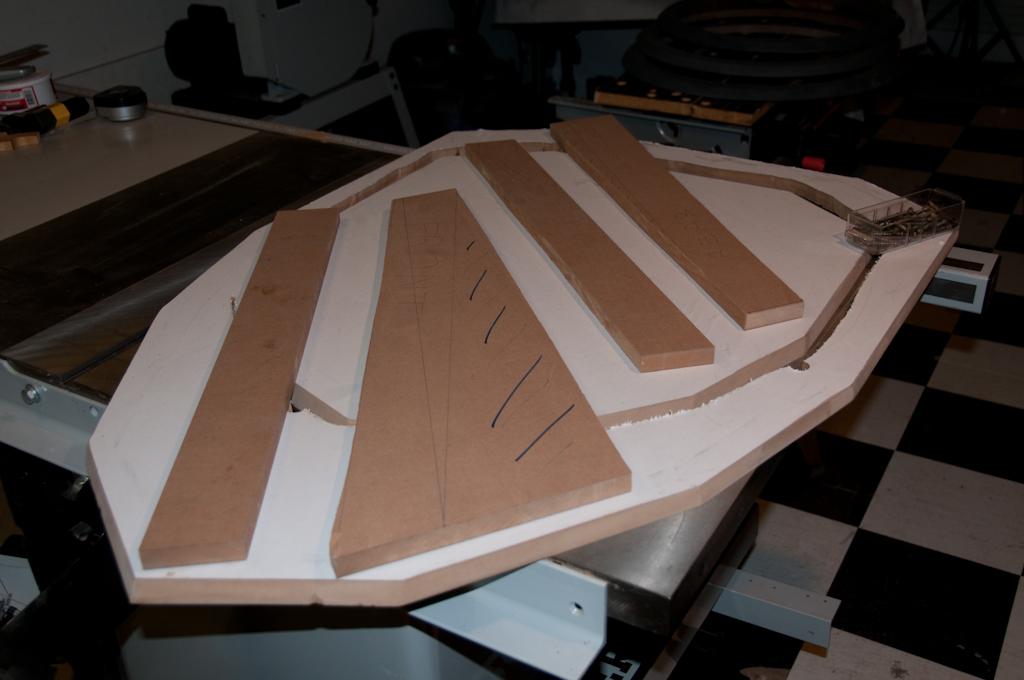
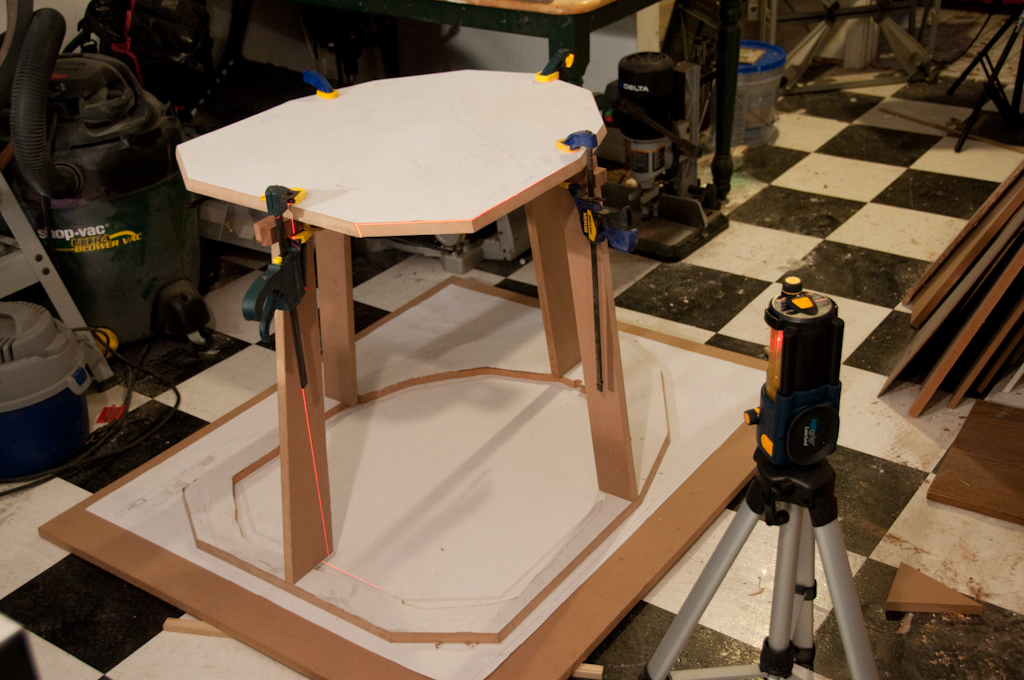
Starting to set up to mark out the positions to install the top supports. The aim is to get the part flat while still being able to screw into it from underneath.
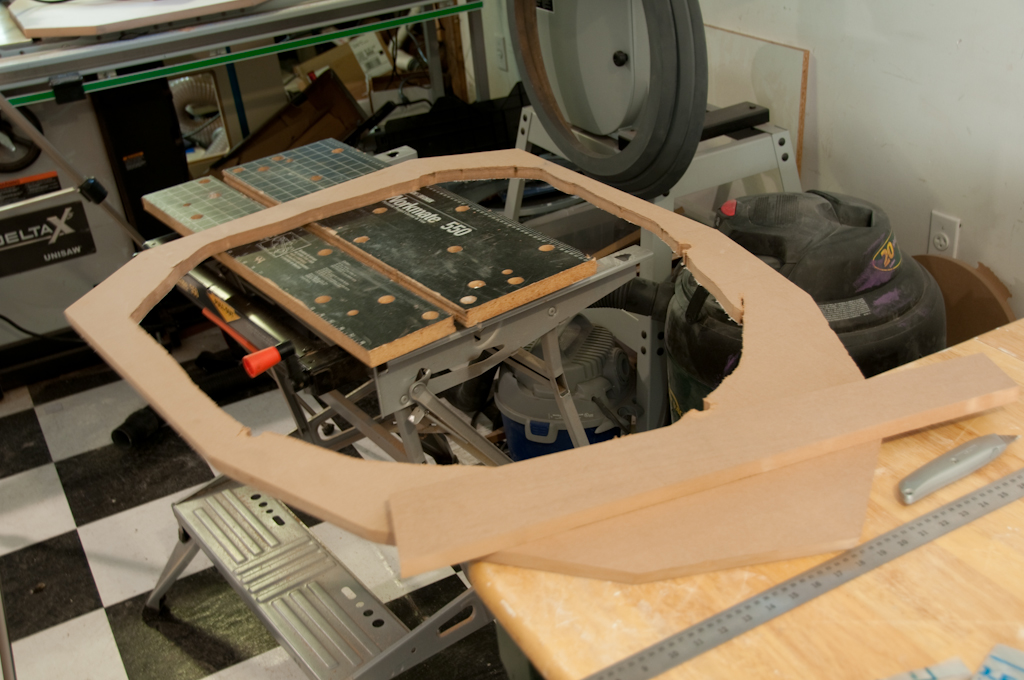
A laser level allows me to get the part completely flat. Note that the edges of the piece have been hand beveled to the correct pitch. To provide a guide, the pattern was marked out for the position of both the top and bottom. It was then sanded back to the bottom mark and then the pater was cut back to show the top marks and sanded again to get the precise bevel.
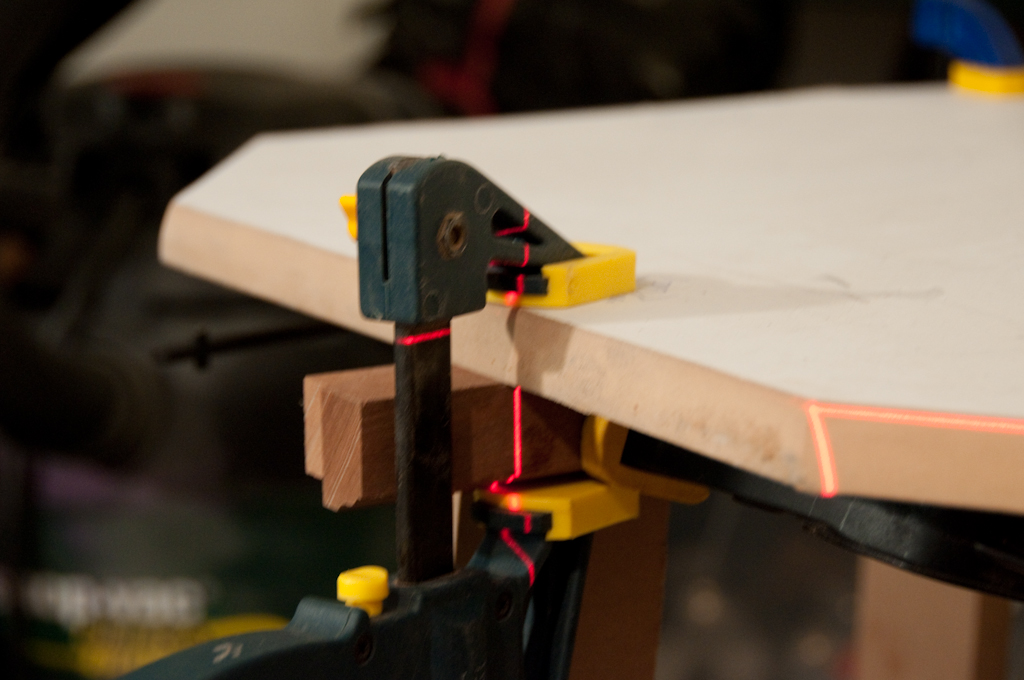
Test fitting the top.
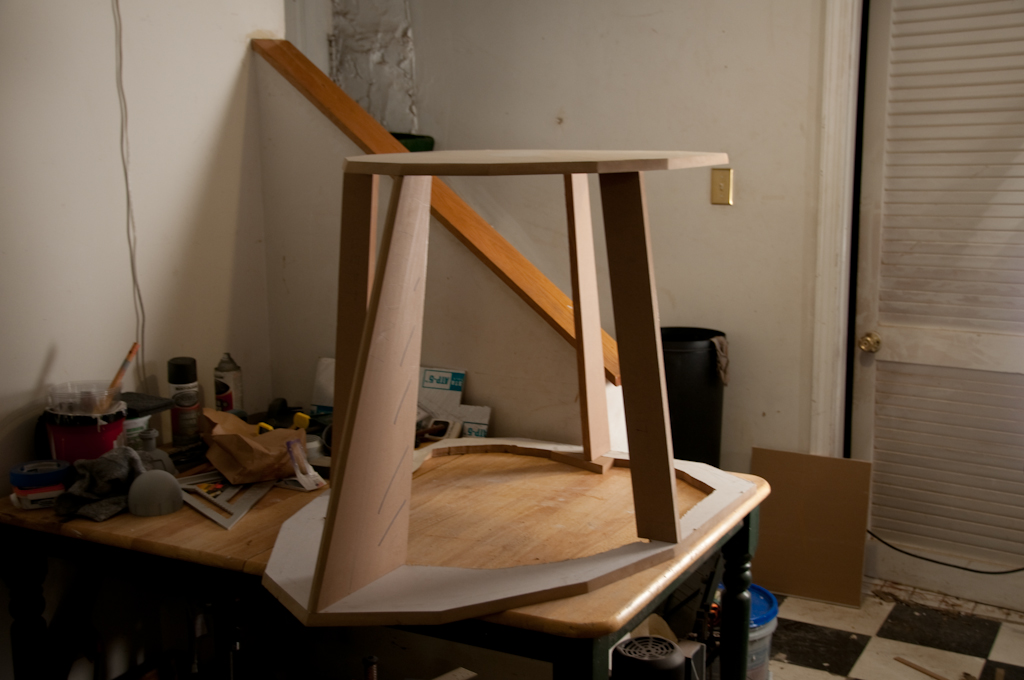
Final fitting of the top.
Adding the skirt skins and cutting to size. This was a much easier than I expected. First each panel was cut to rough size and fixed in place using screws. This allowed me to use a straight edge to mark out the cut.
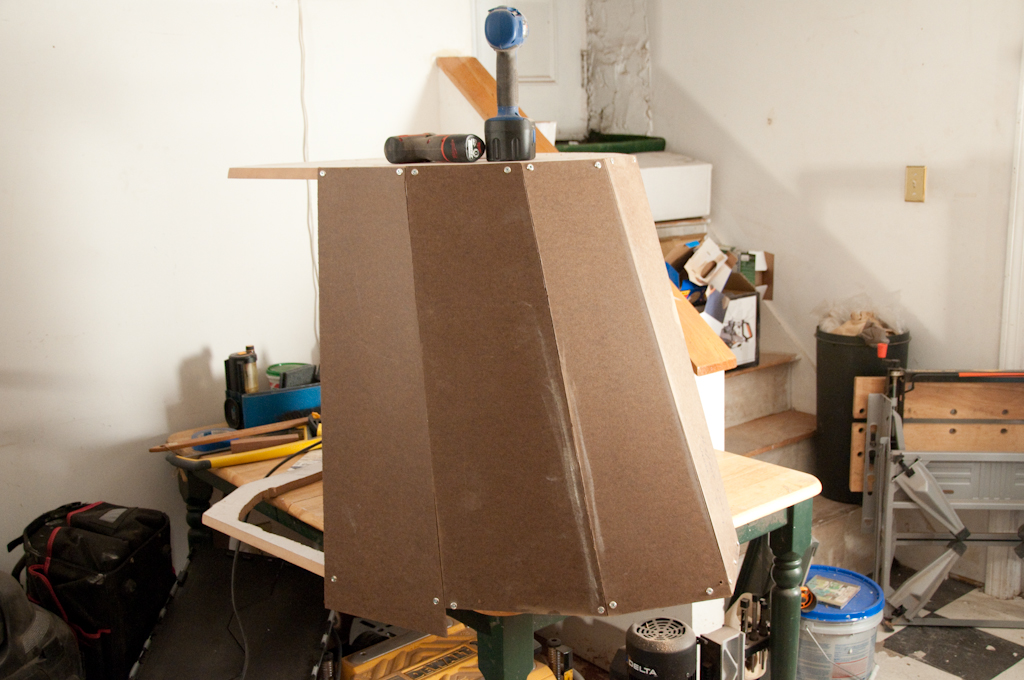
Once all the panels were cut, they were removed one at a time and glued in place. Then fiberglass reinforcing was added to each seam on the inside. This part is certainly not necessary for a plug. But I was pretty sure I would have another use for the plug after the mold was made.
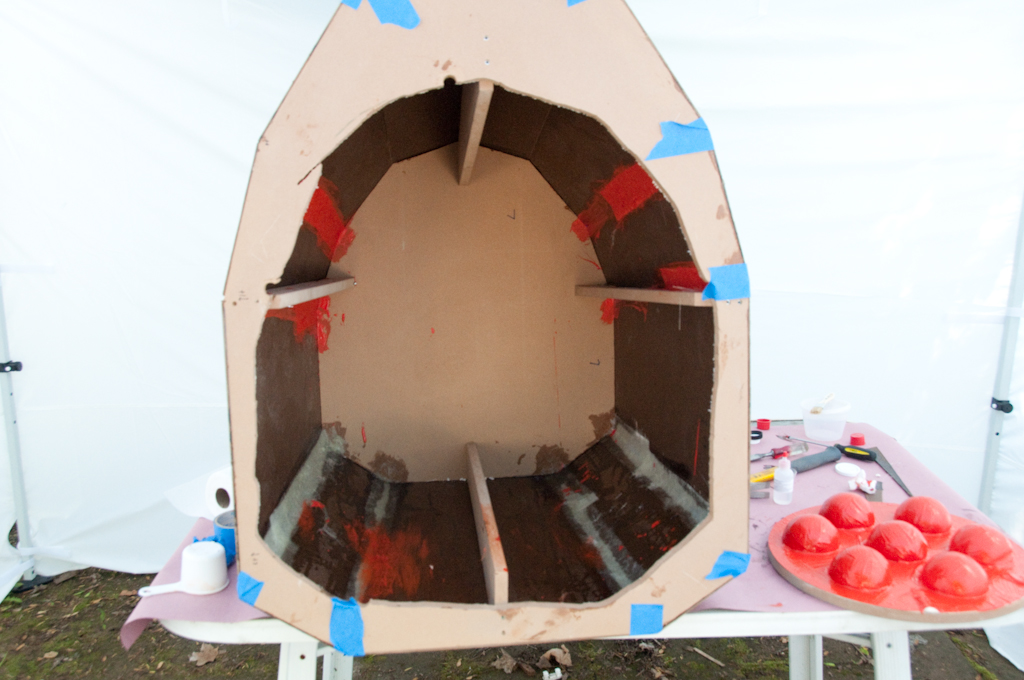
Primer and filler
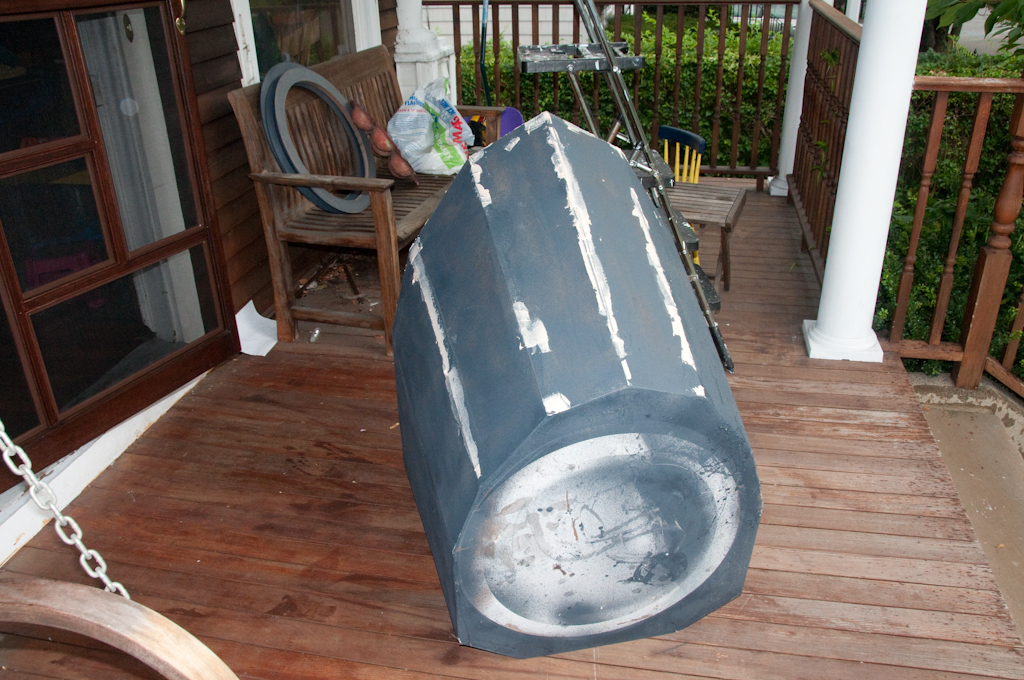
Painted with duatex and waiting for a coat of wax to dry.
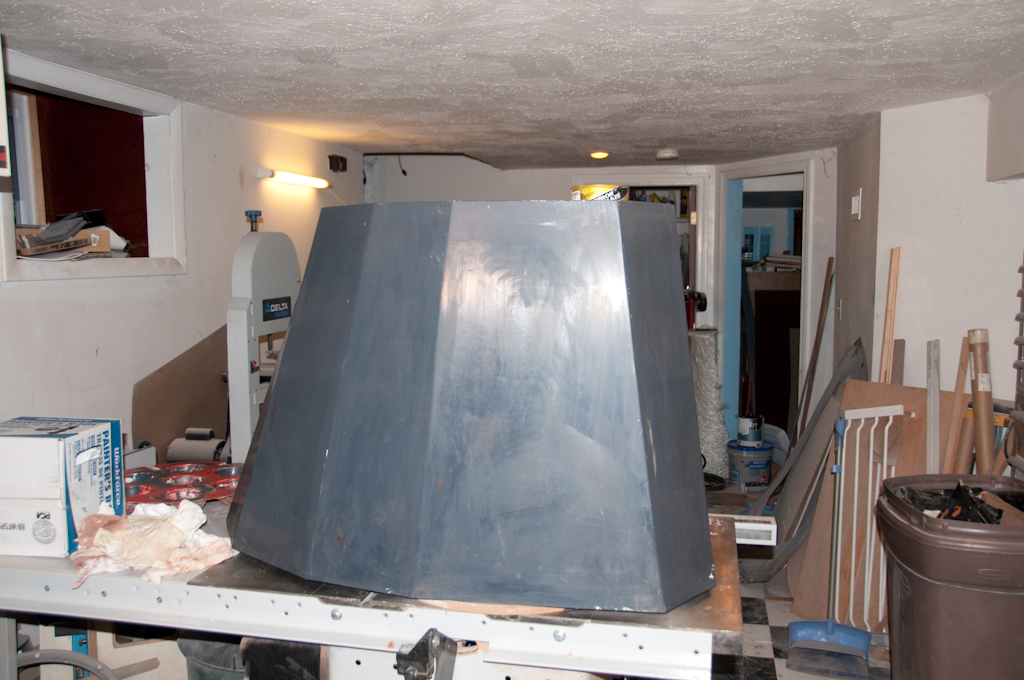
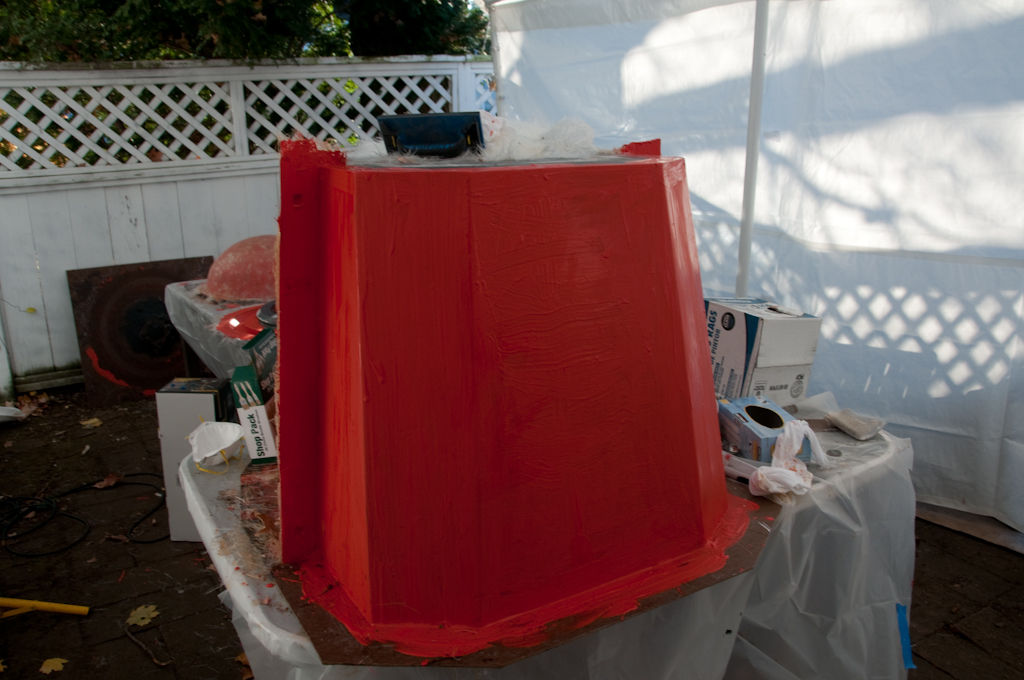
Making the front of the mold. For some reason I had been worried that it might not be sufficiently rigid and so I added foam ridges and glassed over them to provide strength. It was wasted effort, Since the base is essentially a triangle, a much better plan would have been to make the mold in three parts which would have been more or less flat and much easier to store.
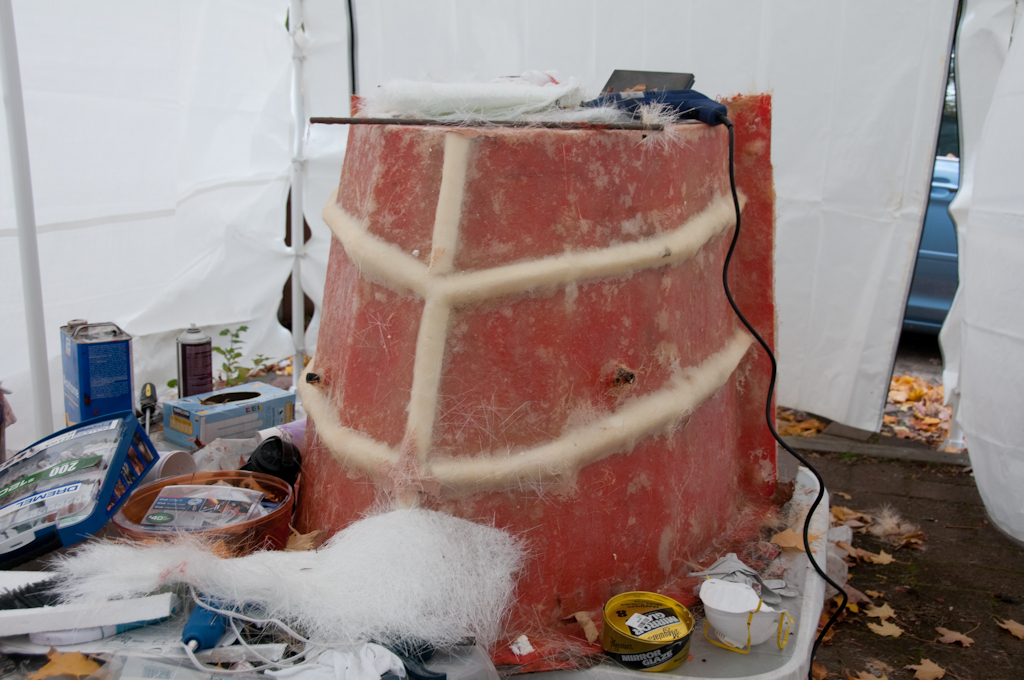
Rear of the mold getting gel coat.
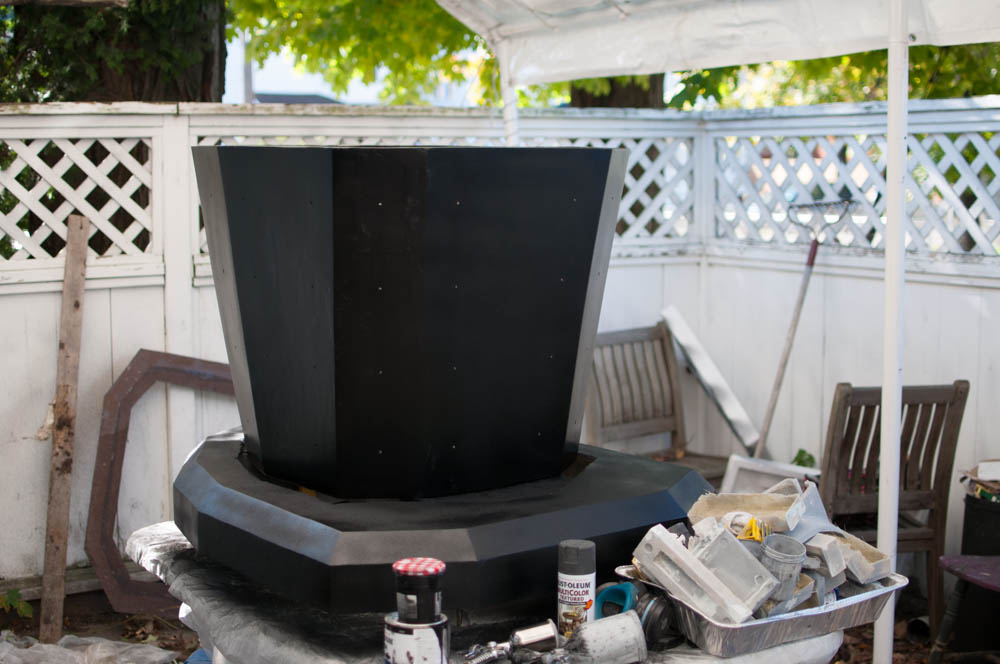
The skirt and fender both have a coat of matt black so its easiest to paint them both at the same time.
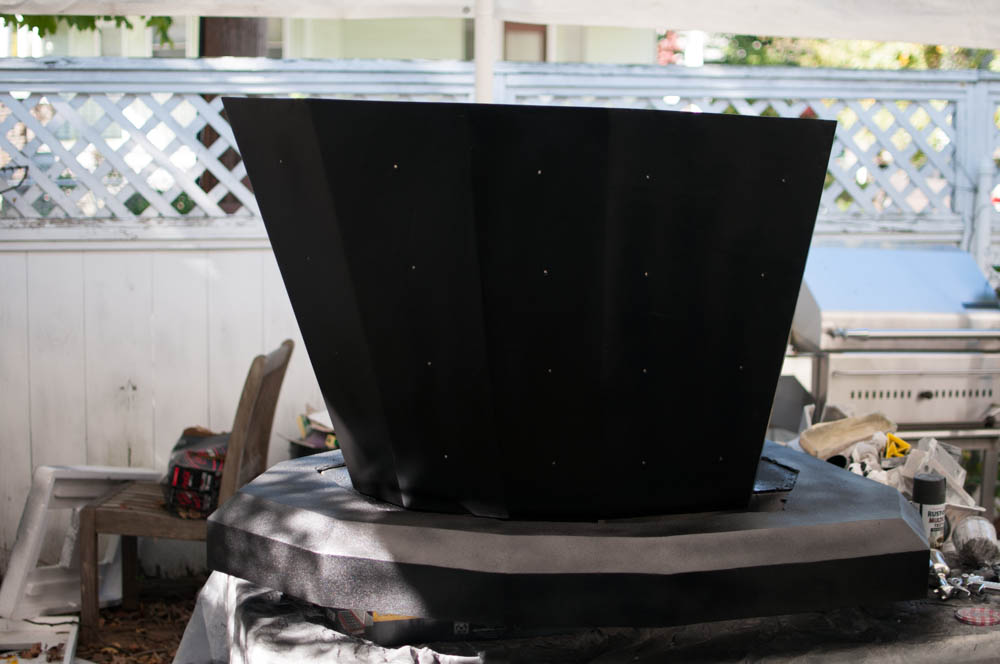
This shot shows the drill holes where the hemis bolt on. Its best to mark these out before painting.
The Hemispheres
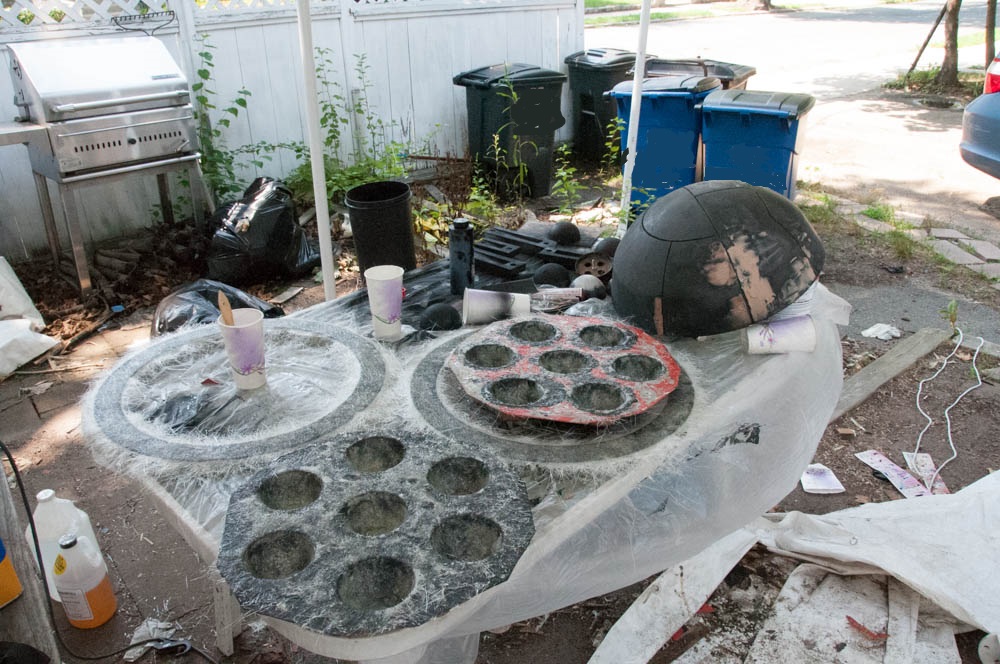
The most time consuming part of a dalek build is making the hemispheres - 56 of them plus spares. Its pretty important to be able to make several at once. So I made this 'egg poacher' mold which let me make seven at a time. After making the first batch, I made a second mold to double the production rate.
If I was making another dalek, I would make this mold from silicone which is self releasing and gives a much better finish. The expense would be well worth the time saved.
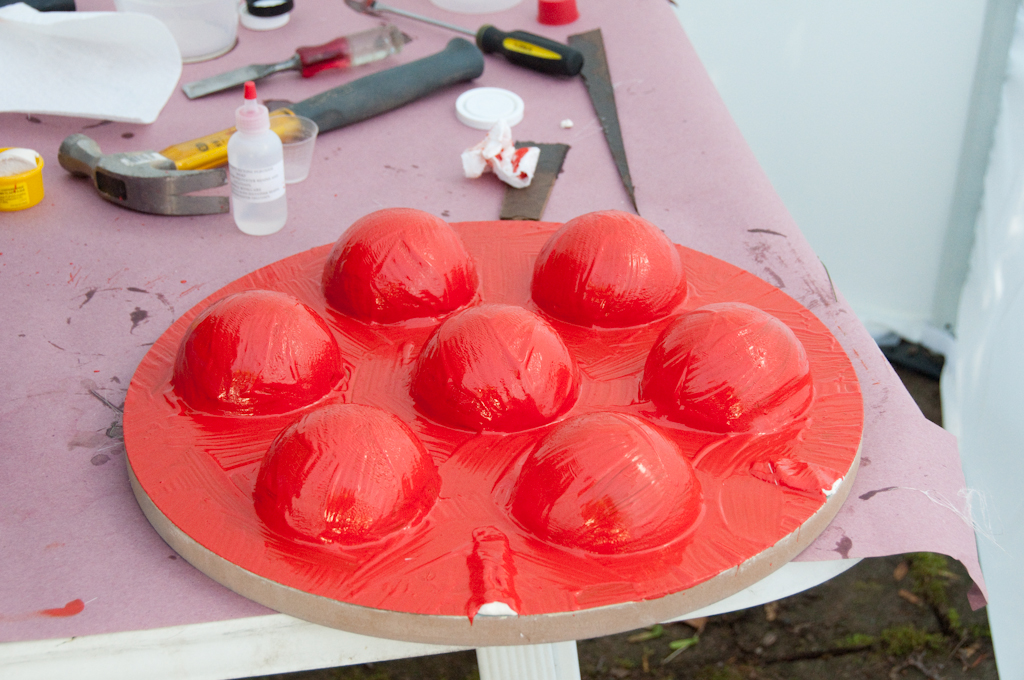
As you can see, my first attempt at a mold started to break down so I made a third.
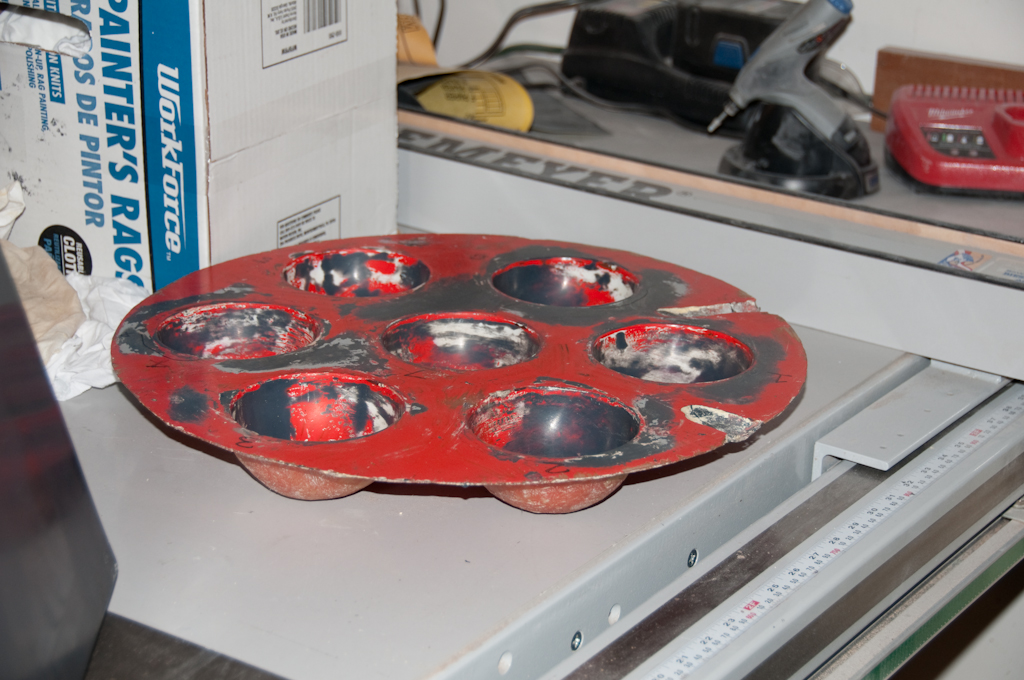
Even making two lots of hemis at once means making at least four sets so a set was made in pretty much every fiberglassing session. The same was true of the shoulder slats you can see in the background.
